Personal tools
Document Actions
Set up the secure wireless network in Windows XP
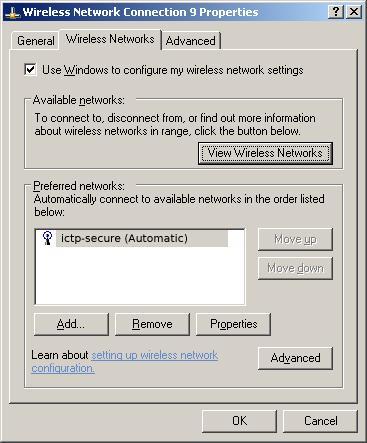
1) Click the Start button at the bottom, then select Control Panel, then Network Connections and right click on your wireless network card and select Properties. Click on the Wireless Networks tab.
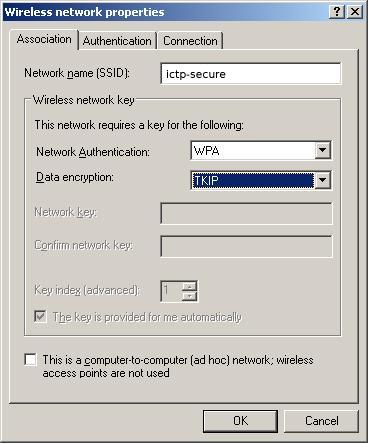
2) Click Add at the bottom. For Network Name (SSID) enter ictp-secure. For Network Authentication select WPA to setup the network connection for WPA compliance (note: WPA and WPA-PSK are not same thing and selecting WPA-PSK will not allow the connection to operate properly). For Data Encryption select TKIP. Make sure that your settings match the picture below.
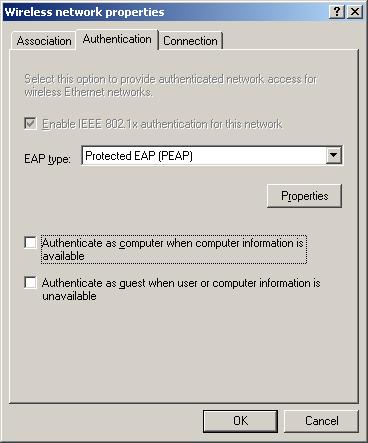
3) Select the Authentication tab. For EAP Type select Protected EAP (PEAP), then uncheck and turn off Authenticate as computer when computer information is available.
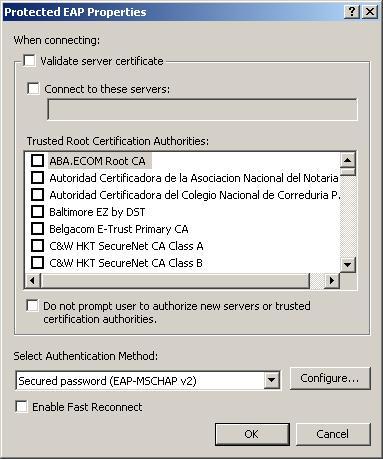
4) Click the Properties button and disable "Validate Server certificate" and make sure that the Select Authentication Method is set to Secured Password (EAP-MSCHAP v2).
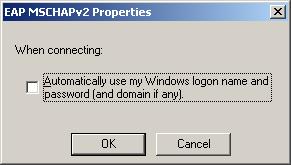
5) Click the Configure button at the bottom. Uncheck and turn off Automatically use my Windows login name and password.
6) Click OK buttons to close all dialog boxes of the configuration. In a few seconds, the network card will contact the "ictp-secure" network. Click on the bubble that at the bottom right hand corner to login.

7) Enter your ICTP user name and password. Leave the third field empty. Then click OK.
8) You are now connected to the WPA enabled, ICTP Secure Network.